Adding a Contact Form to v0 by Vercel gives your visitors a clean way to reach you, with no backend code. The Helpdesky Contact Form drops in as one container div and one script tag, handles its own validation, and lands every submission in your Helpdesky inbox where you can reply by email.
This guide is for anonymous visitors. There is no login, no HMAC, no backend wiring. If you need a portal for signed in users instead, see the Ticket Center Setup Guide.
Why this beats wiring up a server action just for contact: the Free plan covers your first 10 conversations every month, there is no SMTP or backend setup, and the embed is one client component on your v0 generated contact page. Replies you send from the Helpdesky inbox are emailed straight back to the visitor.
Set Up Your Helpdesk
Open the Helpdesky dashboard and go to Contact Form in the sidebar. Copy the embed snippet at the top of the page. It already has your Helpdesk ID filled in:
<div id="hdh-contact-form"></div>
<script src="https://helpdesky.io/contact-form.js"
  data-helpdesk-id="YOUR_HELPDESK_ID"></script>
While you are there, also enable messaging from the Messages sidebar item if you have not already. The toggle is at the top of the Messages page.
Add the Embed Code
v0 generates Next.js components by default. The cleanest place for the embed is a client component on your contact page, using Next's built in <Script> component so the script loads exactly once and survives client side navigation:
"use client";
import Script from "next/script";

export default function ContactPage() {
  return (
    <>
      <div id="hdh-contact-form" />
      <Script
        src="https://helpdesky.io/contact-form.js"
        data-helpdesk-id="YOUR_HELPDESK_ID"
        strategy="afterInteractive"
      />
    </>
  );
}
If v0 generated a server component, mark it "use client" first or move just the form into a small client component.
Copy This Prompt for Your AI Builder
Paste the prompt below into the chat. It tells the agent exactly what to add and where to read the canonical instructions, so the agent fetches the real embed format instead of guessing.
we need to add the helpdesky contact form to the public site.
read the tutorial first: https://docs.helpdesky.io/contact-form-setup
the project is a next.js app generated by v0. use the next/script component with strategy="afterInteractive" inside a client component for the contact page.
then drop the embed snippet into the contact page.
the form does not need any secret env vars since it is for anonymous visitors.
when you are done, confirm the form renders and submits successfully.
Test It
Open the v0 preview, submit a test message, and confirm it lands in your Helpdesky Messages inbox. If the script fails to load, check the Network tab for a CSP violation. v0's default Vercel project does not block third party scripts, but a custom next.config.js CSP header might.
Next Steps
Route inbound support email into the same helpdesk by following the Email Forwarding Setup Guide. If you start getting bot submissions, layer on bot protection with the Cloudflare Turnstile Setup Guide. When you ship a signed in dashboard, swap the public form for a Ticket Center so users can see their full conversation history.
Cool Features
A couple of small things you can turn on once the basic form is live.
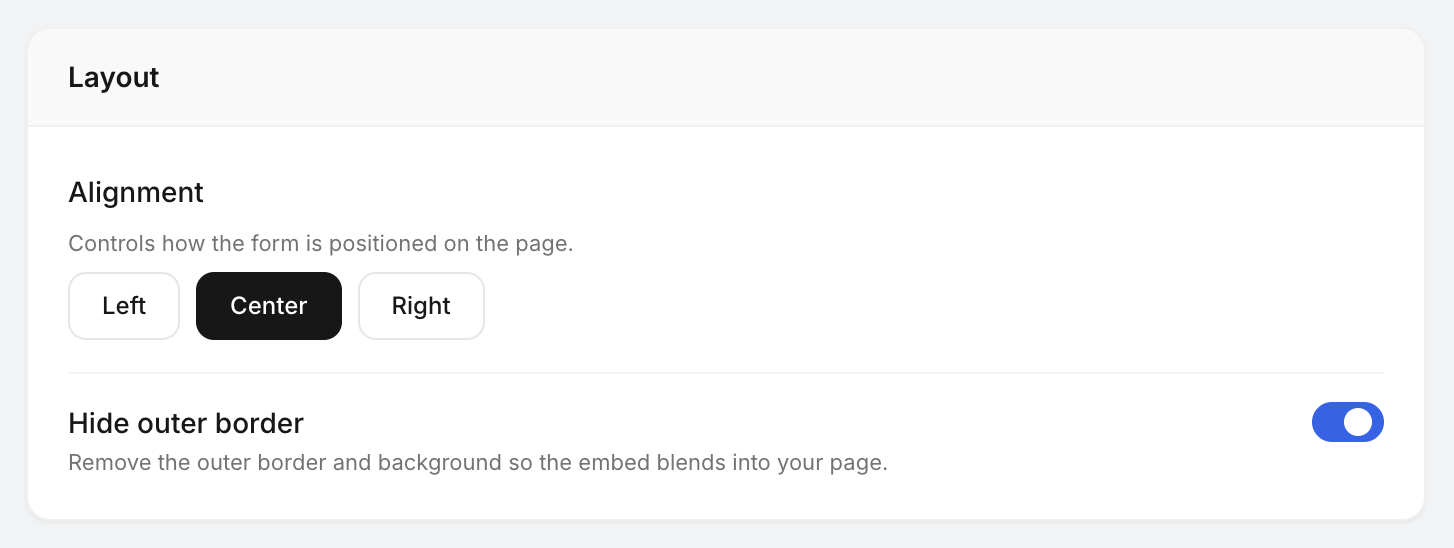
- Hide outer border: drop the form into any section without a background or border so it blends straight into your branding. From the Contact Form page, open the Layout section and toggle Hide outer border.
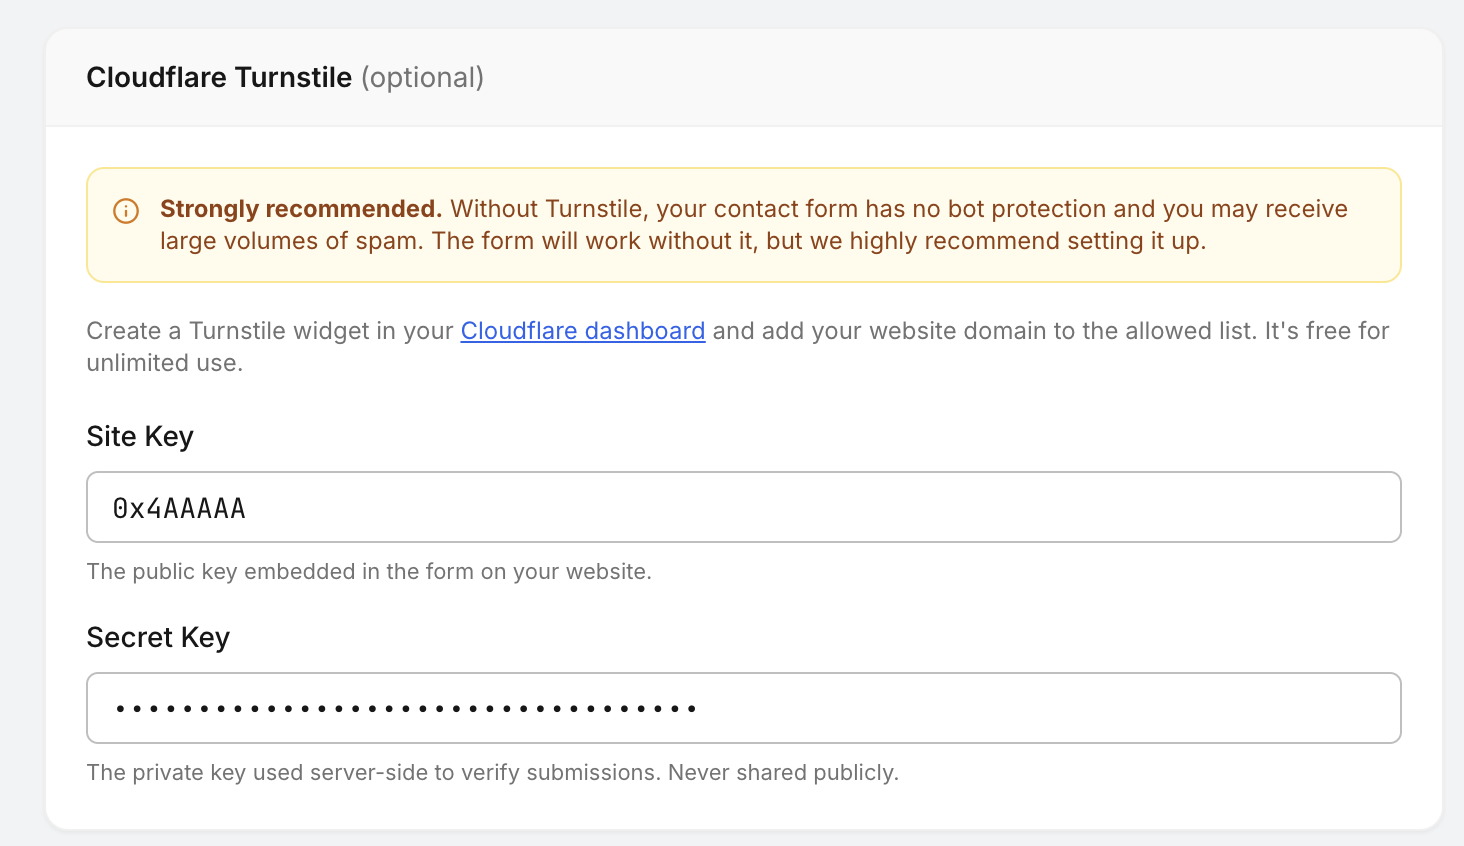
- Cloudflare Turnstile spam protection: if your domain is on Cloudflare, you can protect the form from bots in a few clicks. Open your Cloudflare account, go to Turnstile, add your domain, generate the keys, and paste them into the Helpdesky Contact Form settings. Full walkthrough in the Cloudflare Turnstile Setup Guide.