Adding a Contact Form to Wix uses the built in Embed Code element and takes about thirty seconds to set up. The Helpdesky Contact Form drops in as one container div and one script tag, handles its own validation, and lands every submission in your Helpdesky inbox where you can reply by email.
This guide is for anonymous visitors. There is no login, no HMAC, no backend wiring. If you need a portal for signed in users instead, see the Ticket Center Setup Guide.
Why this is the easiest option for Wix: the Free plan covers the first 10 conversations every month, you skip SMTP, third party form services, and Wix Inbox entirely, and the embed is one paste into a Wix Embed Code element. Replies you send from Helpdesky go straight to the visitor's email.
Set Up Your Helpdesk
Open the Helpdesky dashboard and go to Contact Form in the sidebar. Copy the embed snippet at the top of the page. It already has your Helpdesk ID filled in:
<div id="hdh-contact-form"></div>
<script src="https://helpdesky.io/contact-form.js"
  data-helpdesk-id="YOUR_HELPDESK_ID"></script>
While you are there, also enable messaging from the Messages sidebar item if you have not already. The toggle is at the top of the Messages page.
Add the Embed Code
The Wix Embed Code element runs raw HTML and JavaScript on your live site. It works on the free plan and on every paid plan.
- Open the Wix Editor on the page where you want the form.
- Click the + button on the left, then Embed Code → Embed HTML.
- Drag the new element onto the page and resize it (start with about 600 px wide and 700 px tall, you can refine later).
- Click Enter Code in the floating panel and paste:
<div id="hdh-contact-form"></div>
<script src="https://helpdesky.io/contact-form.js"
  data-helpdesk-id="YOUR_HELPDESK_ID"></script>
- Click Update, then Publish at the top of the editor.
Why not Wix Forms? Wix's native form sends submissions to Wix Inbox, not to Helpdesky. The Embed Code path keeps everything in your Helpdesky inbox so replies, customer history, and AI features all work.
Test It
Open your published Wix site (not the editor preview, which sometimes blocks third party scripts) and submit a test message. It should land in your Helpdesky Messages inbox within seconds.
If the embed area shows a blank box, expand the element to give the form more vertical space. The Embed Code element does not auto resize to its content.
Next Steps
Route inbound support email into the same helpdesk by following the Email Forwarding Setup Guide. If you start getting bot submissions, layer on bot protection with the Cloudflare Turnstile Setup Guide. When you ship a signed in dashboard, swap the public form for a Ticket Center so users can see their full conversation history.
Cool Features
A couple of small things you can turn on once the basic form is live.
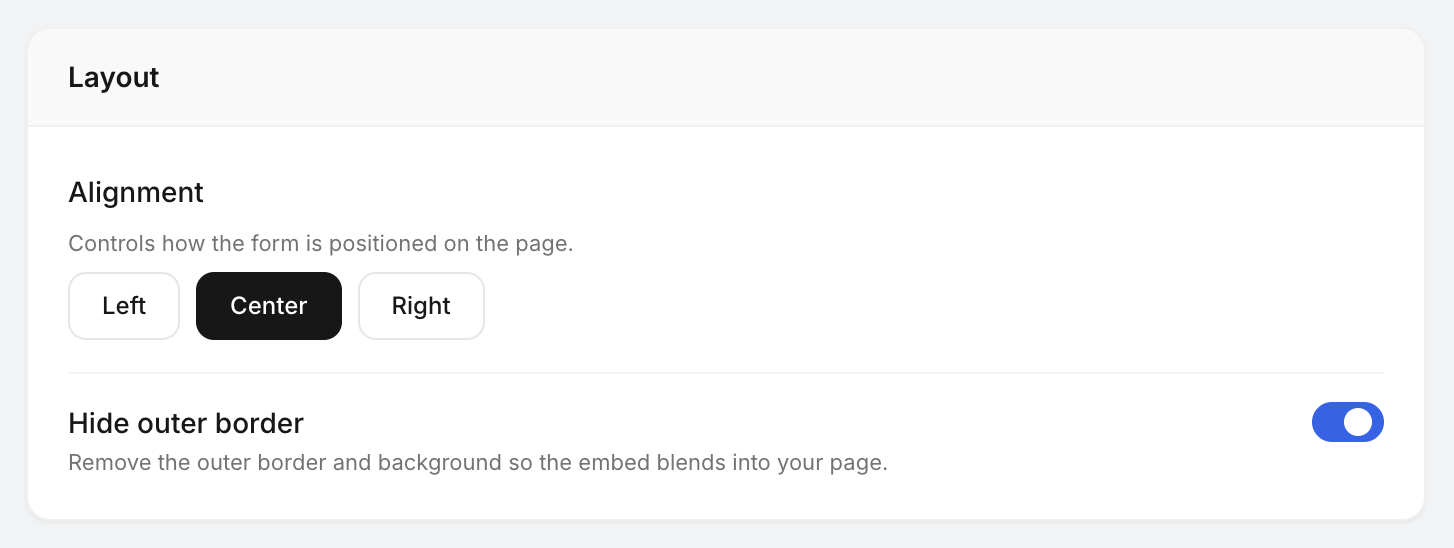
- Hide outer border: drop the form into any section without a background or border so it blends straight into your branding. From the Contact Form page, open the Layout section and toggle Hide outer border.
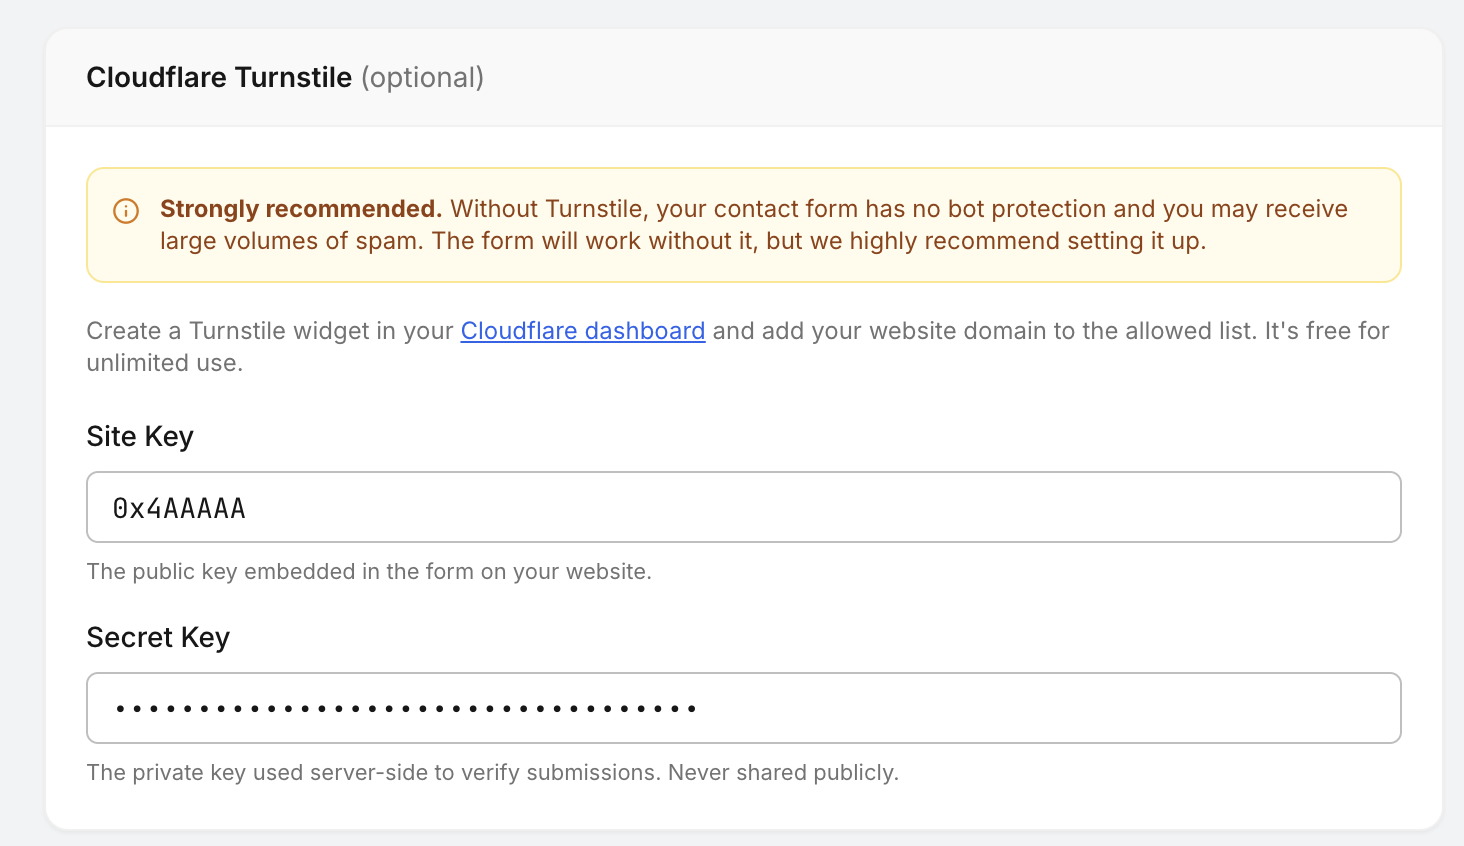
- Cloudflare Turnstile spam protection: if your domain is on Cloudflare, you can protect the form from bots in a few clicks. Open your Cloudflare account, go to Turnstile, add your domain, generate the keys, and paste them into the Helpdesky Contact Form settings. Full walkthrough in the Cloudflare Turnstile Setup Guide.